Have you ever wished you could run an Android app or game on your computer without being confined to a small phone screen? Or maybe you need to test a feature on Android, but you don’t have an Android device handy? Accurate Reviews experts have compiled this list of free software to run Android and its apps on your computer.
BlueStacks
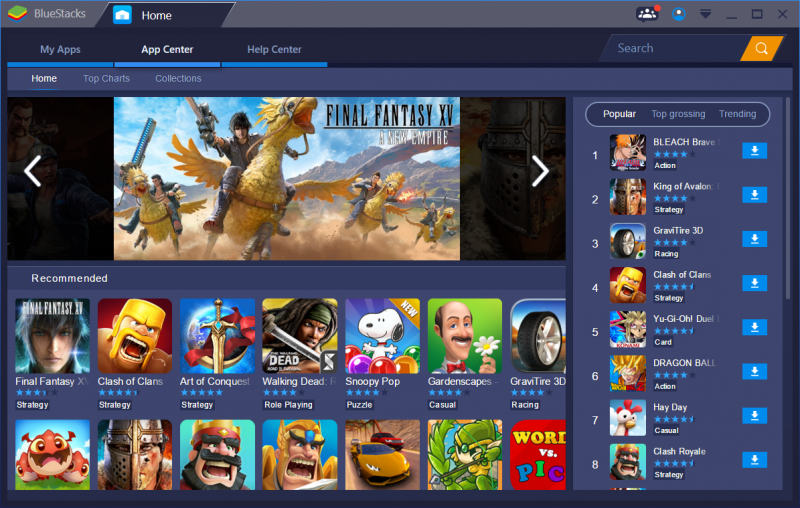
BlueStacks: over the years, BlueStacks has become the best Android app emulator around and is packed full of features that ensure the correct functioning of apps and games. Since it uses virtualization to emulate Android, we recommend that you switch to your computer’s BIOS and enable Intel VT-x or AMD-V (if your computer supports it) for best performance. Download and install BlueStacks as you would any other Windows or Mac application. It will take up about 2 GB of space on your computer and when it starts up, its personalized home screen will appear. It does not imitate a traditional launcher for Android, but accesses the Play Store to download all the apps you want: they will appear on the main screen of the software and on the Windows desktop as shortcuts. Just double-click on an icon to run the app. BlueStacks is great for apps that don’t have matching desktop apps, but the emulator is truly exceptional when it comes to games. BlueStacks has built-in mouse and keyboard shortcuts, which you can customize based on the touch controls in different Android games. You can also adjust the resolution, DPI, FPS and the amount of CPU or RAM, ensuring you get the best balance between speed and graphics fidelity. BlueStacks, unfortunately, includes some advertisements, but not as intrusive, and it’s a small price to pay for the functionality you get, especially considering that it uses Android 7.1.1 as a base, which is higher than most alternatives on the market.
Genymotion
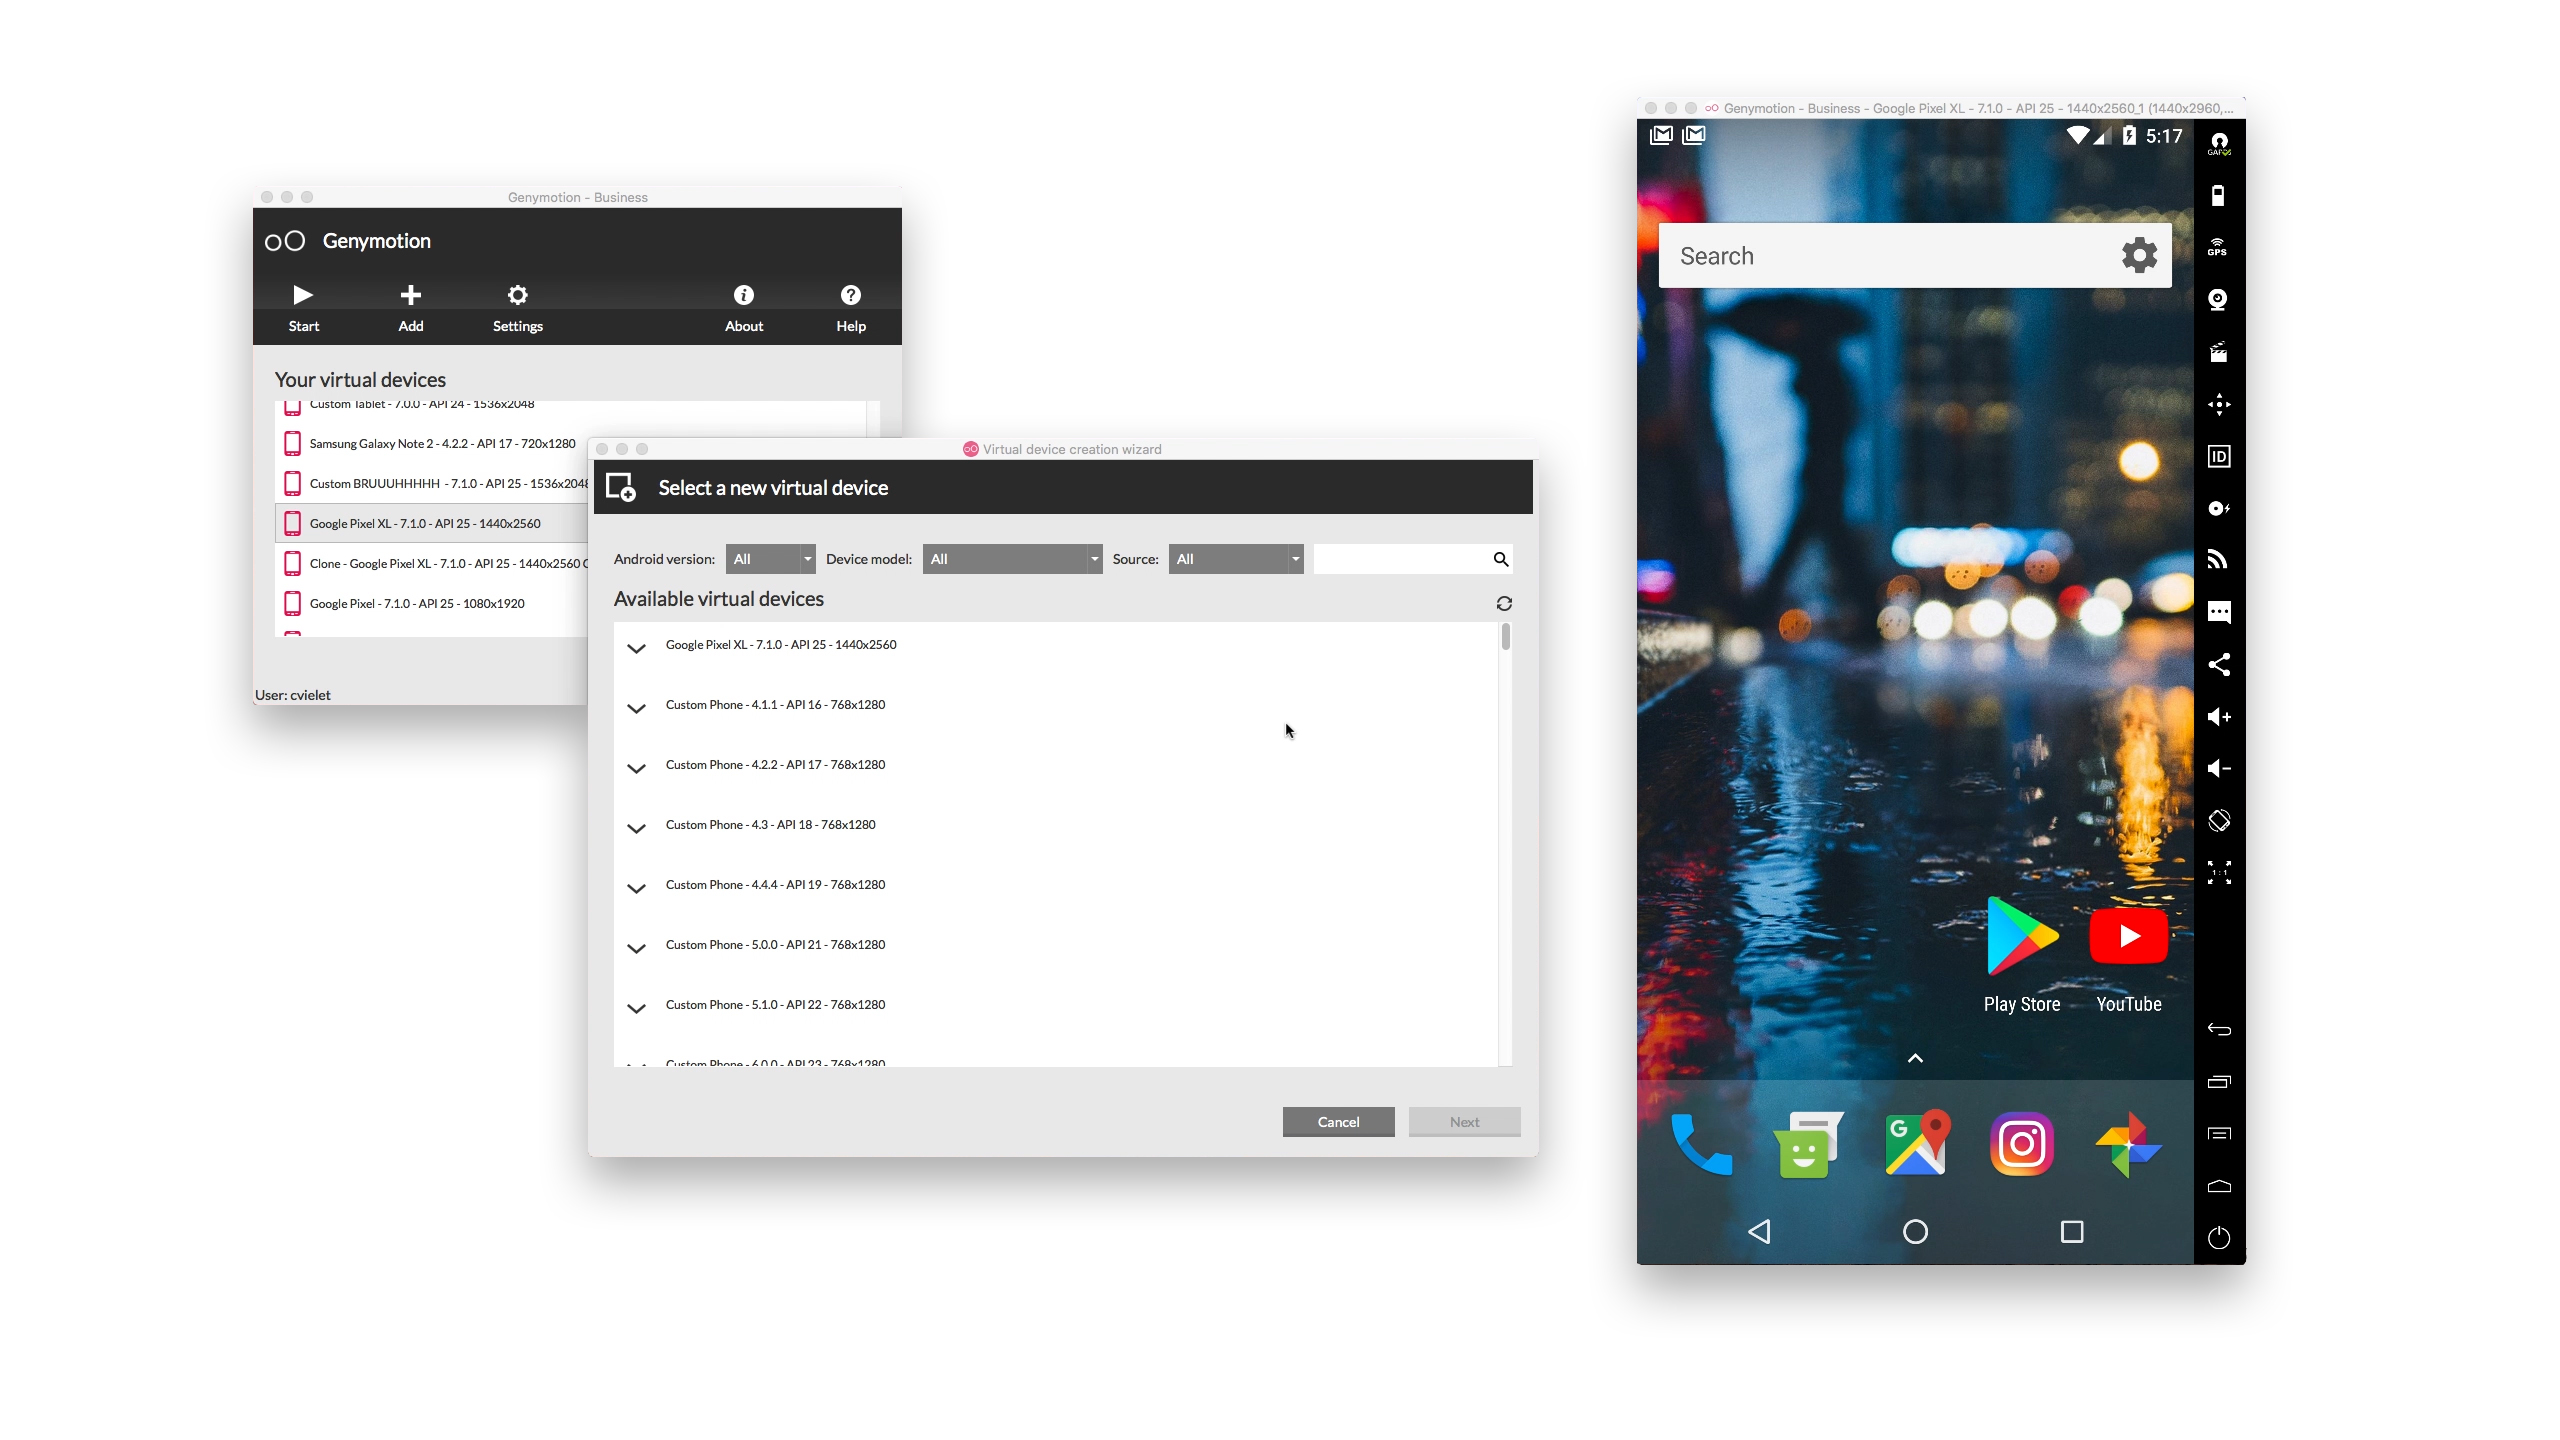
If you are looking to explore the Android operating system, rather than individual apps, Genymotion is a valid emulator. The main product of Genymotion is designed for developers and has a high cost, but there is a free version that you can download for personal use: just create an account on their website first. You will need to have VirtualBox to emulate Android already installed on your PC. Proceed with the installation as you would any other Windows application, making sure to select the version for “Personal use” in the wizard. (And like BlueStacks, we recommend that you enable Intel VT-x or AMD-V from your computer’s BIOS.) When you start Genymotion, you will be presented with a list of devices to choose the resolution of the screen, the Android version and the resources assigned to the emulator. Install the desired model and double click on it to access Android. You will be able to navigate the main screen, launch apps and emulate certain tools such as GPS position. Keep in mind that you will start with a basic version of Android that does not even include Google apps, so if you want the Play Store, you will need to click on the “Open Gapps” icon in the upper right corner to install it.
Android-x86
If you are looking for something more comprehensive, the Android-x86 project brings you as close as possible to real Android on your PC. Android-x86 is an open source project. To install Android-x86, you have a couple of options. If you want to install Android yourself, as a desktop operating system for your PC, you can download it as an ISO disk image and burn it to a USB drive with a program like Rufus. Then, insert theUSB drive into the computer, restart and access the start menu. By booting from your Android-x86 USB drive, you will be able to run Android in a live environment, without any effect on your PC, or install it on your hard drive for permanent use. Alternatively, if you want to run Android-x86 on the existing operating system, you can download the disk image and run it inside VirtualBox. The official website has some tips for running Android-x86 even on a virtual machine.


